Key takeaway:
- The best time to dig up dahlia tubers is when all the above-ground green growth has turned black, indicating that the tubers are ready for hibernation.
- It is important not to leave the tubers in the ground when temperatures drop below 30 degrees, as the ground is likely to freeze solid.
- Cut off all the tops of the dahlia plants with loppers to make digging easier.
- Meticulously label the tubers if you want to divide and sell/give them away, suggested using colorful plastic tree tags anchored with a 6-inch landscape pin.
- Store the tubers in a cool, dark location to prevent mold issues over winter.
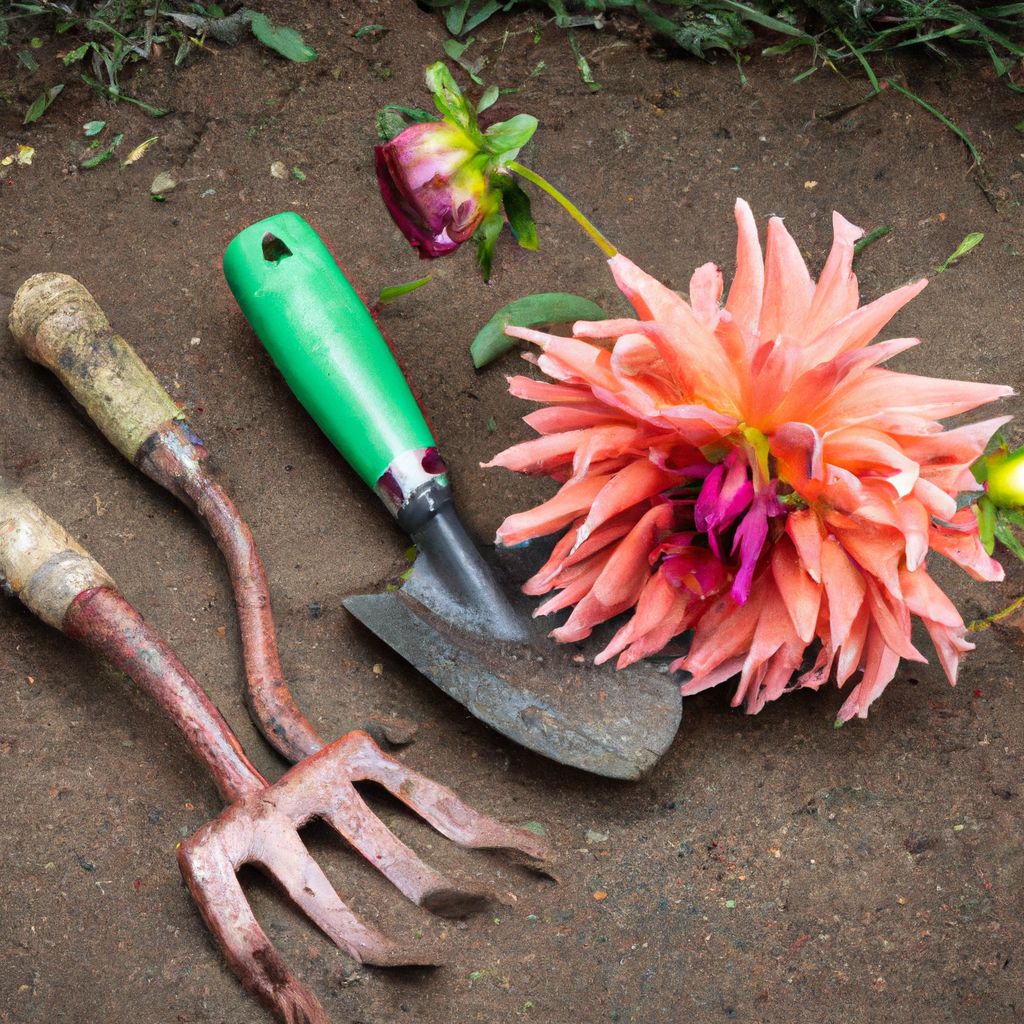
When to dig up dahlias?
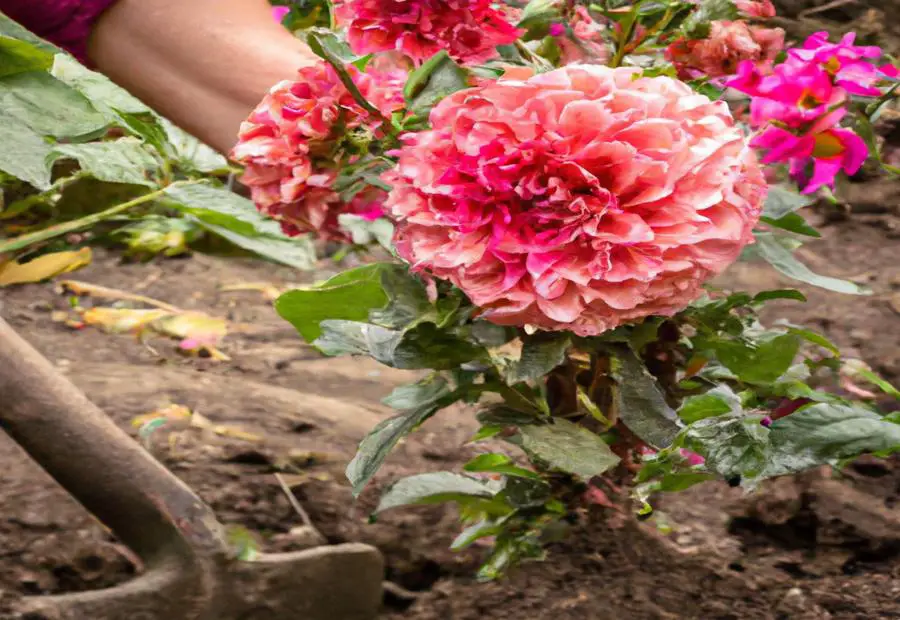
Photo Credits: Fortheloveofgardeners.Com by Matthew Baker
Knowing when to dig up dahlias is crucial for the health and longevity of these beautiful flowers. Waiting until all the above-ground green growth has turned black is a telltale sign that the tubers are ready for hibernation. However, it’s important to remember not to leave the tubers in the ground when temperatures drop below 30 degrees, as the freezing ground can cause significant damage. To ensure the best outcome for your dahlias, timing is everything.
The best time to dig up dahlia tubers is when all the above-ground green growth has turned black, indicating that the tubers are ready for hibernation.
When dahlia’s green growth turns black, it’s time to dig the tubers. This shows the tubers are ready for hibernation. Dig before temps drop below 30 degrees F.
Cut off tops using loppers. Label tubers for division and selling, or gifting. Use colorful plastic tree tags, secured with a 6-inch landscape pin.
Store in cool, dark locations to prevent mold. Dry soil helps when digging. Treat cut edges with fungicide. Store tuber divisions in mesh bag or wrapped in newspaper.
Replant in pots or garden bed. Eyes face upwards, 4-6 inches deep. Bring indoors if temps below 20-30 degrees F.
Flower amount varies, 10-20, based on growing conditions. Dig with spade or shovel. Shake off dirt, brush away dirt, wash with garden hose.
Dry in sun for an hour before storing. Bed of sawdust, peat moss, sand, wood shavings. Inspect monthly to discard rotten/moldy tubers.
Fall division easier cuts, spring division better eyes visibility. Colder climates need cardboard box + newspaper + layers of peat moss. Check stored dahlias monthly.
It is important not to leave the tubers in the ground when temperatures drop below 30 degrees, as the ground is likely to freeze solid.
When temperatures drop below 30 degrees, dig up Dahlia tubers to ensure their survival! Follow this 5-step guide for proper tuber storage:
- Wait ’til the plant’s green growth turns black;
- Use loppers to cut off all the tops;
- Label each tuber with a plastic tag and pin;
- Store ’em in a cool, dark place;
- Keep soil dry when digging, and treat cut edges with fungicide powder.
Don’t forget – regular inspection of stored tubers is crucial. Remove rotted or moldy ones immediately! This way, you’ll have healthy tubers for replanting in late winter or mid-spring.
How to prepare dahlias for digging
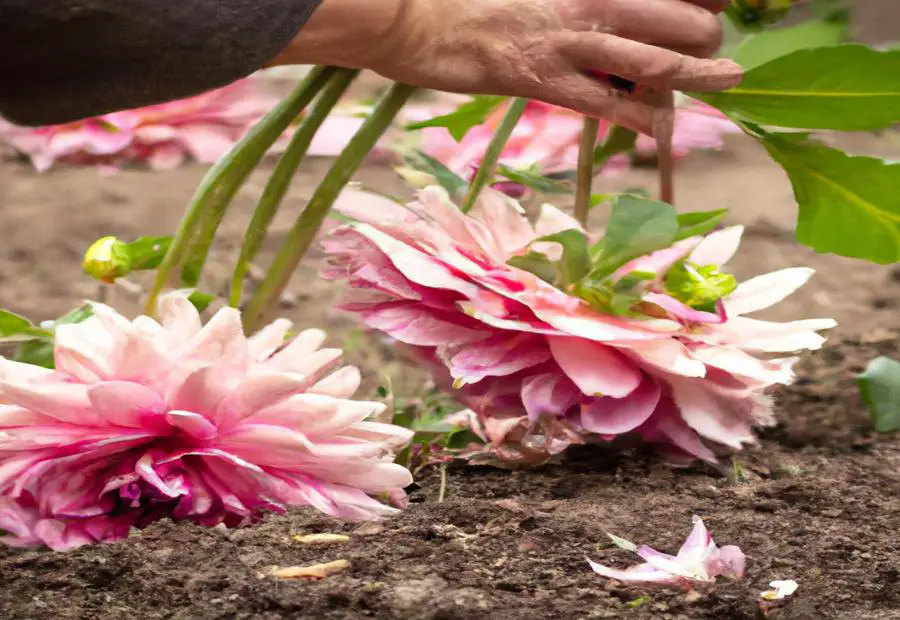
Photo Credits: Fortheloveofgardeners.Com by Gabriel Torres
Cutting off the tops of dahlia plants with loppers is a crucial step in preparing dahlias for digging. This action not only makes the digging process easier but also promotes healthier growth for the plants. Stay tuned to learn more about the essential steps to ensure a successful dahlia digging experience.
Cut off all the tops of the dahlia plants with loppers to make digging easier.
Steps to cut off the tops of dahlia plants with loppers:
- This makes digging easier.
- It also gives efficient access to the tubers.
- When all the above-ground green growth has turned black, it’s time to cut off the tops.
- This indicates the tubers are ready for dormancy.
- Cutting off the tops helps manage and control plant growth during winter storage.
How to label the tubers
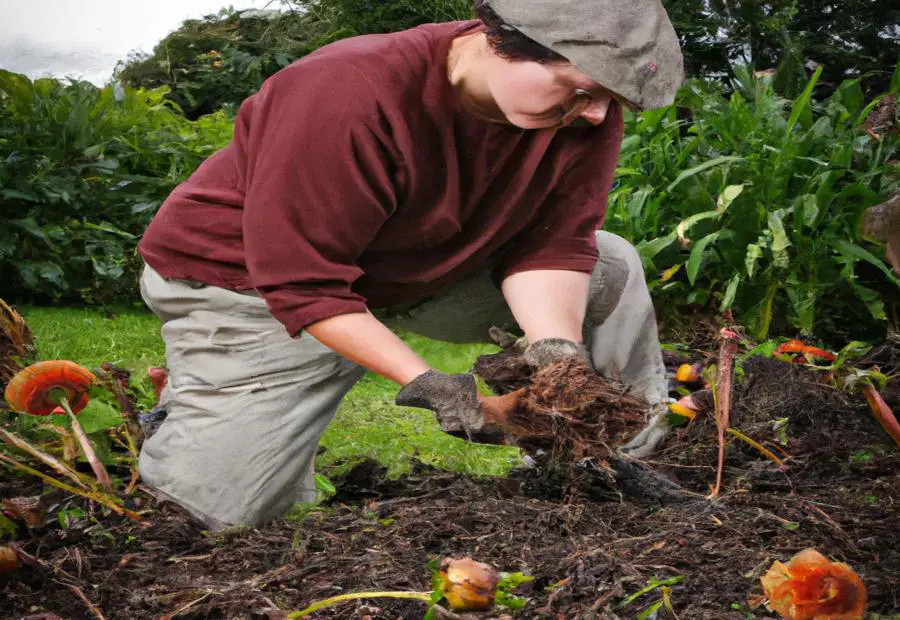
Photo Credits: Fortheloveofgardeners.Com by Harold Sanchez
Meticulously label your dahlia tubers for easy division, selling, or gifting. Use colorful plastic tree tags anchored with a 6-inch landscape pin, enhancing organization and identification.
Meticulously label the tubers if you want to divide and sell/give them away, suggested using colorful plastic tree tags anchored with a 6-inch landscape pin.
Professional gardeners recommend labeling dahlia tubers when dividing them. They suggest using
A four-step
Use colorful tags: These tags make it easy to identify the tubers. Colors help with recognition and organization.Anchor tags with a 6-inch pin: Attaching the tags securely prevents them from falling off during storage or transportation.Write legible labels: The information on the tag should be written clearly, so there are no misunderstandings.Include relevant details: This includes variety names, color and bloom size.
Further instructions and variations may be found in additional resources.
How to store dahlias properly
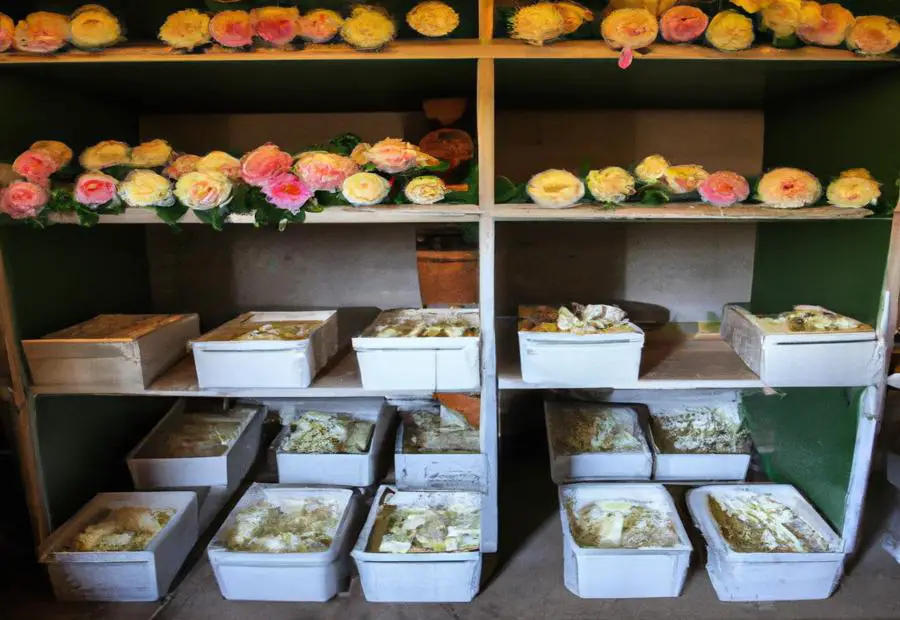
Photo Credits: Fortheloveofgardeners.Com by Roy Hall
To ensure the longevity of your dahlias, it is crucial to store them properly. Discover how to keep your tubers safe from mold issues during the winter by storing them in a cool, dark location. For more detailed instructions on the correct storage techniques and effective strategies to prevent mold, refer to the blog article mentioned as a valuable resource. Don’t let your dahlias suffer – learn the essential steps to preserve their beauty year after year.
Store the tubers in a cool, dark location to prevent mold issues over winter.
When storing dahlias, select a cool and dark area. Avoid light and heat, as these can cause mold. Good air circulation is key to prevent moisture buildup. Find a spot that stays dry all winter. Temperature fluctuations should be avoided, as this can bring condensation and increase moisture.
Cover the tubers with materials such as sawdust, peat moss, dry sand, or wood shavings. This provides insulation and helps regulate humidity. Inspect the stored tubers for rot or molding. Remove affected tubers quickly to protect the collection.
For more info on storage and mold prevention, check out the blog article referenced!
Further information on proper storage and mitigating mold issues is provided in a referenced blog article.
For long-term dahlia health, proper storage and avoiding mold issues is key. A referenced blog article gives more info and guidance. It covers cool, dark locations and adequate circulation to avert mold. Heed the instructions, and your dahlias will stay in top shape during dormancy.
When storing dahlias, certain steps are necessary to ward off mold problems. The referenced article provides advice on how to ready and store the tubers, including placing them in cool, dark spots with good airflow. Use materials like sawdust, peat moss, sand, or wood shavings for bedding.
The blog also stresses the importance of inspecting the dahlias regularly. Check them monthly to find any rot or mold. Swift removal of affected tubers stops the spread of the damage. These extra steps help maintain the dahlias’ health during storage.
To get the most out of dahlia storage, make use of resources with detailed instructions. This article and others like it grant gardeners the knowledge to keep tuber stock in prime condition until replanting season.
Additional considerations for digging up dahlias
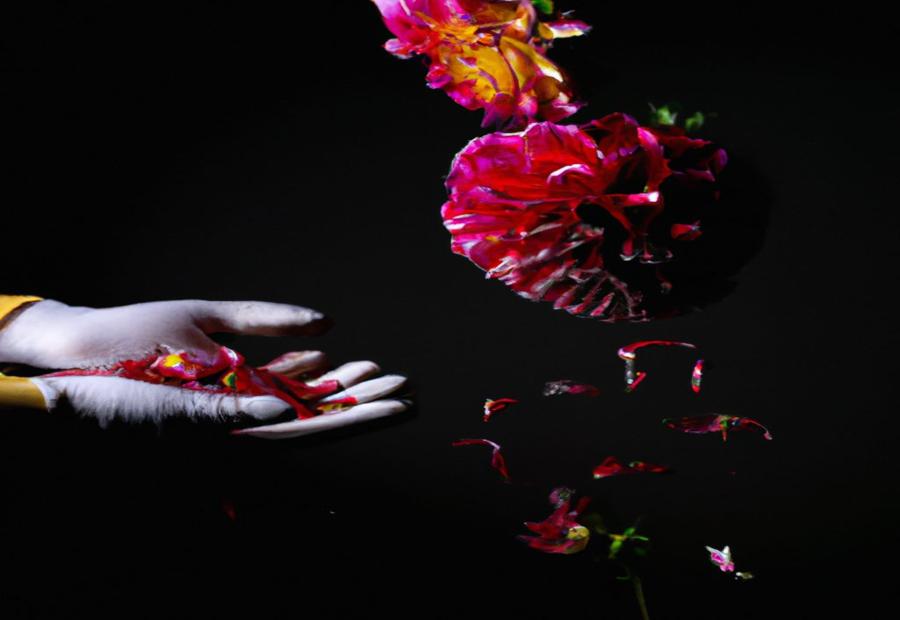
Photo Credits: Fortheloveofgardeners.Com by Ralph Rodriguez
When it comes to digging up dahlias, there are additional considerations to keep in mind. This section will cover important tips and steps to ensure a successful process. From timing the dig-up to dividing and transplanting the dahlias, we’ll explore the best practices for each sub-section. We’ll also discuss the importance of treating cut edges and proper storage methods to protect the tubers for future growth. So, let’s dive into the essential details of digging up dahlias and maximizing their longevity.
Dig up the tubers when the soil is dry and avoid water filling up the hollow stems.
Timing is key for digging up dahlias. When the soil is dry, it’s time to start. Cut off the tops of the plants with loppers. Use a spade or shovel and dig around the base. Carefully rock the plant until it comes loose. Put it in a container or bucket.
Clean off any excess dirt and debris. Shake, brush, and hose them. Dry in direct sunlight for an hour. Store in a cool, dark place. Provide bedding like sawdust, peat moss, sand, and shavings. Avoid water in the hollow stems.
Take care of your dahlia garden for beautiful surroundings. Divide and transplant for a mini facelift!
Divide and transplant dahlias if they are in the garden.
When dahlias bloom in the garden, it may be necessary to divide and transplant them – for a range of reasons. From propagating new plants to rearranging the garden, this technique can aid in preserving their health and vitality.
It’s important to pick the right time – fall is best for cutting the tubers, spring for spotting the eyes.
Then, prepare for division – cut the tops off with loppers.
Dig around the base of each plant with a spade or shovel, loosen the soil without cutting into the tubers. Rock the plant back and forth until it comes loose, then place it in a container or bucket.
Shake any dirt off, brush away remaining dirt and rinse off clumps with a gentle hose spray. Apply fungicide powder to cut edges and let dry before storage.
To transplant, select a well-draining, sunlit spot, dig a hole for each tuber, approx. 4-6 inches deep. Cover with soil and water thoroughly.
Continue care and maintenance like regular watering and mulching. Monitor for pests and diseases, and use controls as needed.
Sarah’s story is a reminder of how well-done division and transplantation can spread joy, and let dahlias thrive in many gardens. Follow these steps for success!
Treat cut edges with fungicide powder and allow sections to dry out before storing them.
- Cut the dahlias into sections. Use a clean, sharp knife or gardening shears. Then, dust the exposed surfaces with fungicide powder. This stops fungal infections.
- Give the cut surfaces enough time to dry. Place them in a well-ventilated area for several days. Excess moisture will evaporate and reduce the risk of rotting.
- Store the tuber sections in a cool, dark place. Adequate airflow is essential to stop mold growth and preserve their vitality.
- Regularly inspect the tuber sections for mold or rot. Remove any affected pieces.
- When it’s time to replant, choose healthy and undamaged tuber sections. This ensures successful regrowth in your garden.
Follow these steps to treat the dahlia tubers with fungicide powder, allow them to dry, and store them for winter. This will give them the best chance of surviving and thriving when it is time to replant.
Store the tuber divisions in a mesh bag or wrap them in newspaper and place them in a cool, dark, and sheltered location.
- Gather the clean tuber divisions and wrap them in either a mesh bag or newspaper.
- Find a cool, dark, and sheltered spot like a basement or cellar.
- Arrange the wrapped tubers in such a way that allows air circulation.
- Check on the stored tubers regularly throughout winter to monitor their condition.
- Lastly, additional resources such as guides for different dahlia varieties can give further insights into optimal storage practices.
Environmental conditions are key for preventing rot and preserving the quality of stored tubers. Make sure the area is dry and dark, with adequate air circulation. Also, don’t forget to check on the tubers often. When it’s time to replant dahlias after winter, dig deep and bury the tubers with care.
How to replant dahlias after winter
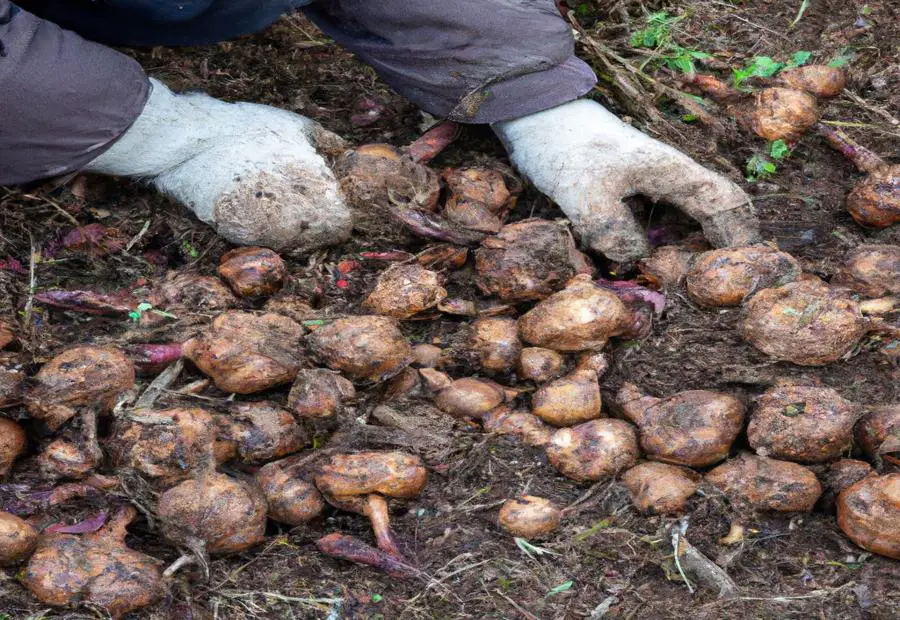
Photo Credits: Fortheloveofgardeners.Com by Raymond Hernandez
Replanting dahlias after winter demands careful timing and proper techniques. Discover the secrets to successfully rejuvenating these vibrant flowers. Learn how to replant the tubers – whether in pots during late winter or in the garden come mid-spring. With precise wisdom and a depth of 4-6 inches, ensure the eyes of the tubers face upwards. Let’s delve into the art of reviving dahlias and witness their breathtaking bloom once again.
Replant the tubers in pots or in the garden in late winter or mid-spring, planting them 4-6 inches deep with the eyes facing upwards.
Replanting dahlias should occur during late winter or mid-spring. Plant the tubers 4-6 inches deep with the eyes facing upwards. This will ensure proper growth.
Consider a few factors when replanting:
- Divide and transplant if already in the garden.
- Treat cut edges with fungicide powder.
- Allow sections to dry out before storing.
- Store tuber divisions in a mesh bag or wrap in newspaper.
- Place in a cool, dark, and sheltered location.
Storage conditions are key to preserving the health of tubers. Circulation, dryness, and a cool, dark storage location are essential for preventing rotting. Dahlias can usually be stored for 3-6 months. Check regularly to avoid drying out or rotting. By following these guidelines, healthy plants can be grown in future seasons.
Tips for overwintering dahlias in pots
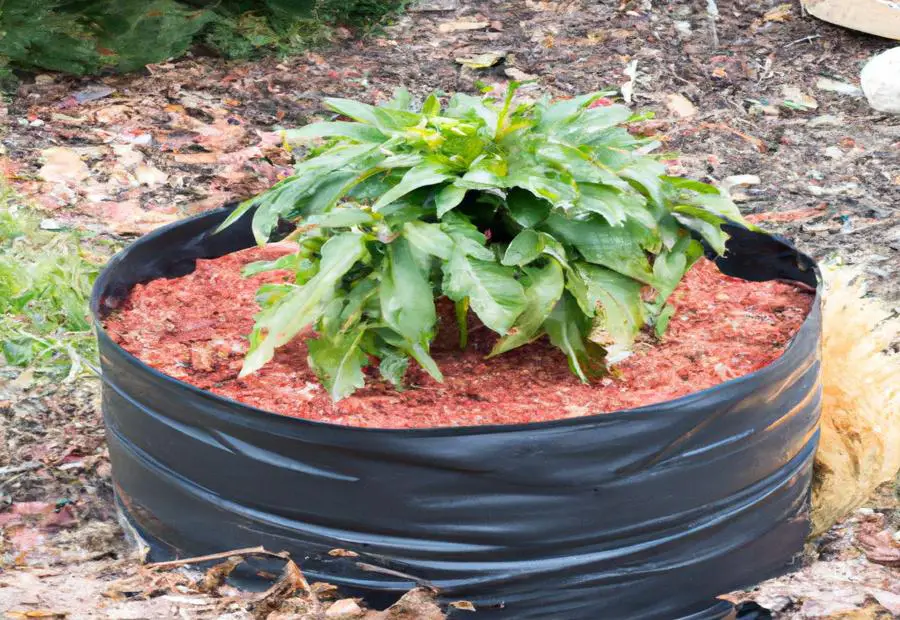
Photo Credits: Fortheloveofgardeners.Com by Nicholas King
Overwintering dahlias in pots? Here are some helpful tips to keep your potted dahlias thriving during the colder months. Discover how to bring them indoors and store them in a cool, dark location. Find out the optimal temperature range to ensure their survival.
Potted dahlias should be brought indoors and stored in a cool, dark location as long as the temperature doesn’t drop below 20 to 30 degrees.
Bring potted dahlias indoors to protect them from the cold. The temperature should not drop below 20-30 degrees. Before it reaches this threshold, store them in a cool, dark location.
Direct sunlight and high temperatures can damage the tubers. Too much heat causes them to dry out and become dormant early. Find a place with stable temperature control.
Use a thermometer or similar device to monitor temperature regularly. Fluctuations may occur indoors, so check that it stays within the range of 20-30 degrees Fahrenheit.
Follow these guidelines for successful overwintering. This will keep them healthy and ready for replanting when spring arrives. Dahlia tubers will give you a blooming good time!
Quantity and lifespan of dahlia tubers
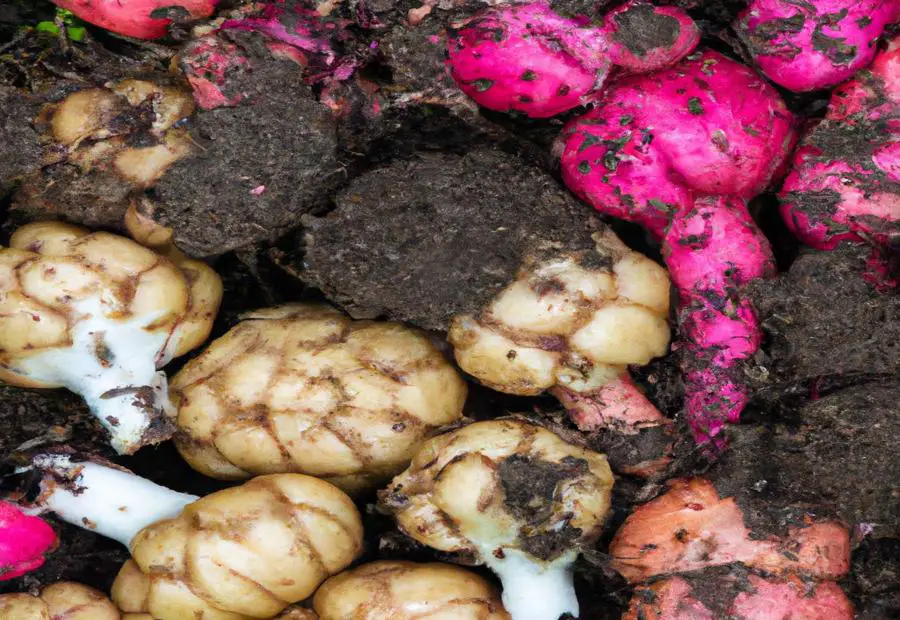
Photo Credits: Fortheloveofgardeners.Com by Benjamin Walker
Dahlia tubers have the fascinating ability to yield an impressive quantity of flowers, ranging from 10 to 20, under favorable growing conditions. However, various factors can impact these numbers. In this section, we will uncover the mysteries surrounding the quantity and lifespan of dahlia tubers, shedding light on the potential flower output and discussing the factors that may influence it.
One dahlia tuber can produce 10 to 20 flowers, but the number may vary depending on growing conditions.
Growing conditions are key to the flower production of dahlia tubers. Sun, water, and nutrients all have a direct effect on the flowers produced. So, for healthier growth and more blooms, provide adequate sunlight and regular watering. Ensure the soil the tuber is planted in is of good quality. Well-draining soil with lots of organic matter is great for providing the plant with the nutrients it needs.
Also, proper care and maintenance of the dahlia plant is important for higher flower production. Prune, fertilize, and protect against pests or diseases regularly. By doing this, gardeners can help the plant reach its highest flower potential.
The variety of dahlia chosen can affect flower production too. Some varieties produce bigger blooms, while others produce smaller but more abundant flowers. The local climate should also be taken into account. Dahlias prefer temperate climates and may not do so well in extreme heat or cold. So, choose a variety that suits your climate zone for optimal flower production.
Age and size of the dahlia tuber can influence flower production, too. Older and larger tubers tend to have more energy reserves, which can result in more blooms compared to younger or smaller tubers.
By taking all these factors into account and providing optimal growing conditions, gardeners can maximize flower production from their dahlia tubers. This will result in a gorgeous display of blooms throughout the growing season. So, get spading and unearth those tubers!
Digging up dahlias: best practices and supplies needed
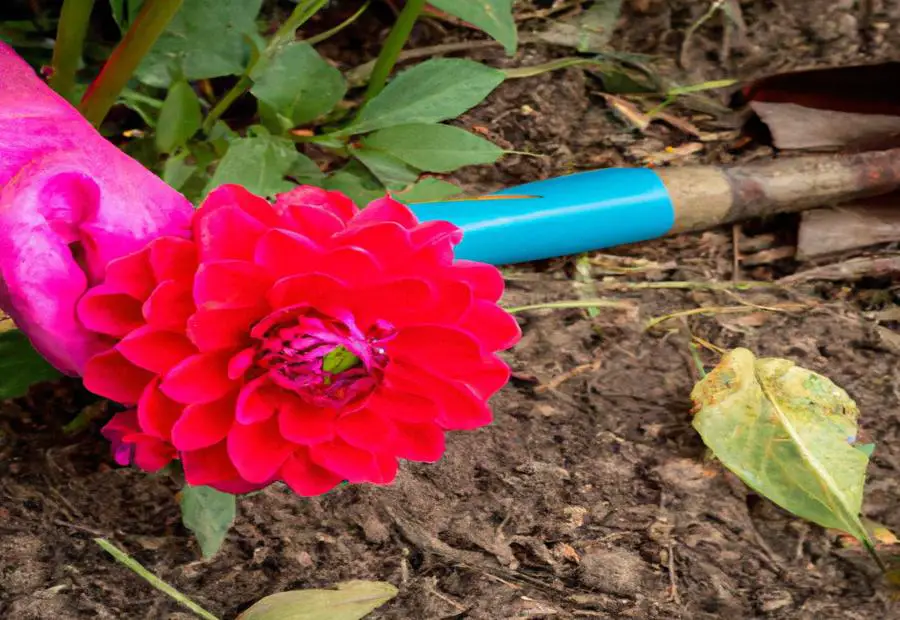
Photo Credits: Fortheloveofgardeners.Com by Terry Young
When it comes to digging up dahlias, it’s essential to follow best practices and have the right supplies. In this section, we’ll explore the techniques and tools you need to successfully remove dahlias from the ground. From using a spade or shovel to loosen the soil around the base of the plant, to rocking and lifting the plant carefully, and finally cleaning off any excess dirt and debris, we’ll cover it all to ensure you handle this task effectively.
Use a spade or shovel to make a hole around the base of the plant and loosen the soil without cutting into the tuber.
Here are the steps for extracting a dahlia plant:
- A spade or shovel is ideal for digging around the dahlia plant’s base, so that the tuber won’t get cut. Loosen the soil without cutting into the tuber for preservation.
- To make the work easier, cut off all the tops of the dahlia plants with loppers.
- Then, dig a hole and loosen the nearby soil. Rock the plant back and forth until it’s dislodged.
- Lift it out and transfer it to a container.
- Next, remove excess dirt and debris. Gently brush away any remaining dirt and rinse with a garden hose if needed.
- Remember: using a spade or shovel to create a hole around the dahlia plant’s base and loosening the soil without cutting into the tuber will protect the plant while extracting it.
Rock the plant back and forth until it comes loose, then lift it out of the soil and place it in a container or bucket.
To unearth dahlias, handle with care – to keep the tubers safe. Shake the plant back and forth, and it will come free from the soil. Lift it out, then place it in a container or bucket.
For safe dahlia extraction, here are 3 steps:
- Gently rock back and forth to loosen
- Lift it up without force
- Store in a container or bucket
When rocking the dahlia, be careful not to hurt the tubers.
Once loose, lift out the dahlia carefully, with no jerky movements. This preserves the tubers.
Transfer the dahlia into a container or bucket, while being stable. This helps keep the tubers in good condition.
Take care when lifting dahlias out of the ground – not to harm the tubers. Gently Rocking and lifting them, the right way, means they can be safely removed.
With these tips, the tubers will be safe. The gentle rocking keeps them undisturbed, and placing them in a container or bucket keeps them safe until transplanting or further processing. This is a responsible way to cultivate healthy dahlias.
Shake off excess dirt and debris, brush away remaining dirt, and wash off any tough clumps with a garden hose.
Clean your dahlias in 5 steps:
- Tap them on a hard surface to remove the loose soil.
- Use a brush or your hands to remove any remaining dirt.
- Rinse off tough clumps with a garden hose.
- Let them air dry for a few hours.
- Handle with care to avoid damage.
Store your tubers in the dark for winter, just like you would your favorite snacks!
How to dry and store dahlia tubers
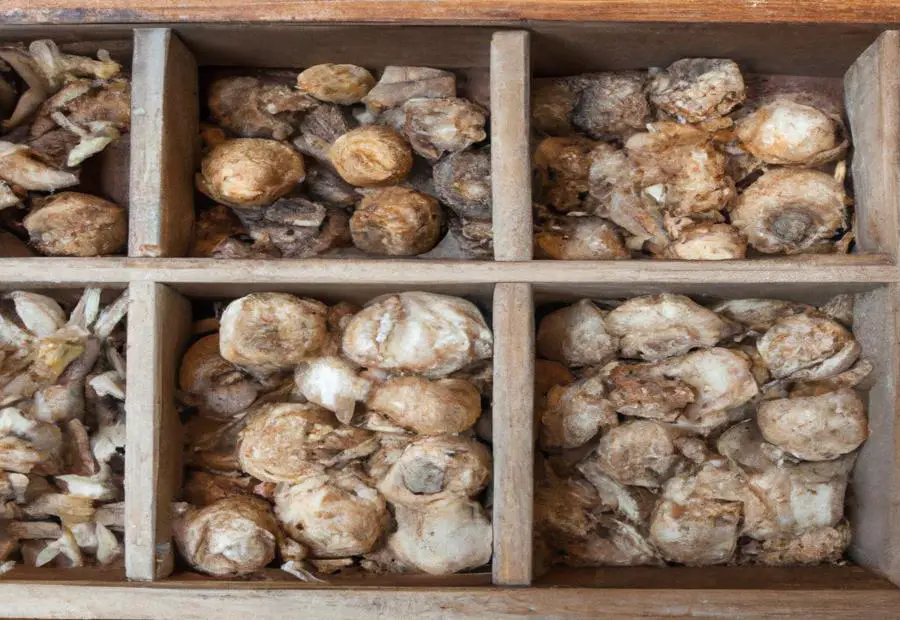
Photo Credits: Fortheloveofgardeners.Com by Henry Wright
When it comes to preserving and storing dahlia tubers, proper techniques are essential. In this section, we will explore how to dry and store these tubers effectively. From exposing them to sunlight before storage to inspecting them regularly for signs of rot or mold, we will cover the necessary steps for ensuring the longevity and health of your dahlia tubers. So, let’s dive in and discover the best practices for maintaining these beautiful flowers year after year.
Dry the tubers in direct sunlight for about an hour before storing them in a cool, dark place with a bedding of sawdust, peat moss, dry sand, and wood shavings.
Want a crazy unique way to dry dahlia tubers? Follow these five steps!
- Clean off excess dirt and debris from the tubers after digging them up.
- Let them bask in the sun for an hour to dry.
- Prepare a storage location with materials like sawdust, peat moss, sand, and wood shavings.
- Place the tubers on the bedding material in the dark and cool storage.
- Make sure they don’t touch each other to avoid rotting or molding.
Ventilation and temperature are also essential for successful drying and storing.
So remember:
- Dry the tubers in the sun for about an hour.
- Find a suitable dark and cool place with a bedding.
By following these steps, you will ensure the preservation of your dahlias until the winter hibernation period ends and they can be replanted in late winter/mid-spring!
Monthly check your tubers, and say goodbye to any rotten or moldy ones.
Inspect tubers monthly and remove any that have rotted or begun to mold.
Step 1: Take some time each month to inspect your stored dahlia tubers. Pull them out one-by-one and check for signs of rot or molding. Soft spots, dark discoloration, and fuzzy patches can be a sign of rot. Gently remove these and discard them to avoid contamination. Return the healthy tubers to their storage.
Step 2: It’s important to catch issues early to prevent extensive damage. Regular monitoring ensures only viable tubers are stored and increases chances of successful cultivation. Track any observations or trends you notice to adjust storage conditions.
Pro Tip: After handling each tuber, clean and sanitize tools to prevent cross-contamination. This will help maintain the overall health and vitality of your dahlias.
Factors to consider when storing dahlias
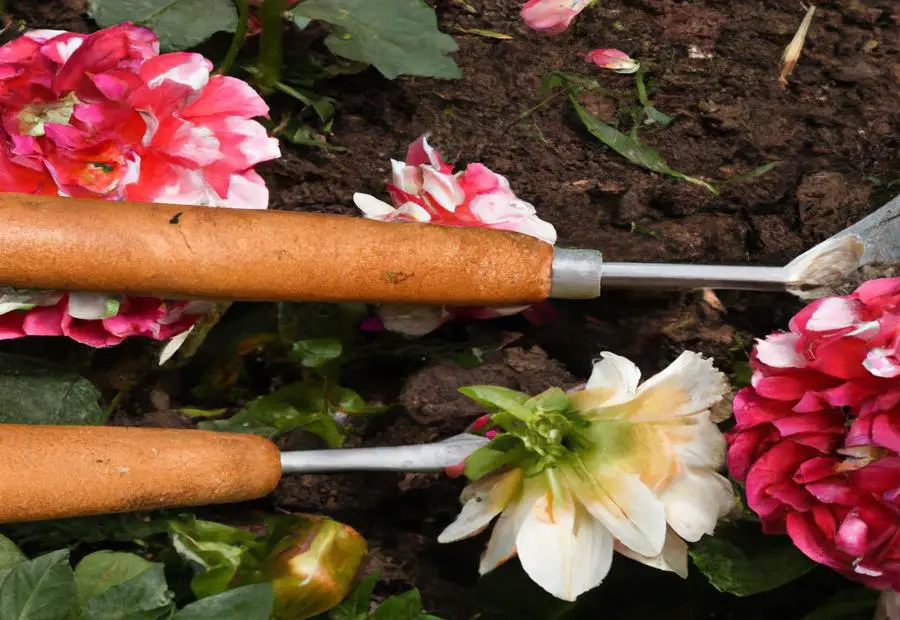
Photo Credits: Fortheloveofgardeners.Com by Steven Green
When it comes to storing dahlias, there are several key factors that need to be considered. From adequate circulation to finding the right storage location, these elements play a crucial role in preventing rot and preserving the tubers. Additionally, it’s important to keep an eye on the tubers regularly to avoid drying out or rotting. In this section, we will explore the various factors and techniques that can help ensure the successful storage of dahlias.
Adequate circulation, dryness, and a cool, dark storage location are important for preventing rot and preserving the tubers.
To secure the finest preservation of dahlia tubers, it is key to consider adequate air circulation, dryness, and a cool, dark storage spot. These factors are vital for warding off rot and upholding the tubers’ quality.
Good airflow is a must for the stored tubers as it reduces moisture buildup and disheartens mold development. To guarantee this, it is suggested to store the tubers in ventilated containers or bags that allow for sufficient air circulation while protecting them from direct sunlight.
Keeping a dry atmosphere is just as important since it stops the tubers from becoming too wet or waterlogged, which could lead to rot. To absorb extra moisture and keep dryness, materials like sawdust, peat moss, dry sand, or wood shavings can be used as bedding for the tubers.
Also, a cool and dark spot is best for storing dahlias as it assists in sustaining stability and slows down potential decay processes. Basements or garages are good options as they manage temperature changes and prevent exposure to light.
Regular assessment of the stored tubers is essential during winter storage. Do monthly checks to detect any indications of rotting or mold production. Swift removal of affected tubers can obstruct further spread of rot or damage to adjacent healthy tubers.
By adhering to these guidelines of adequate circulation, dryness, and a cool, dark storage spot, you provide your dahlia tubers with the highest chance at survival during winter storage. Be mindful in upholding these conditions to prevent any issues that may harm the tubers’ quality and extend their lifespan.
Dahlia tubers can usually be stored at home for 3-6 months, but should be checked regularly to prevent drying out or rotting.
Dahlia tubers can be stored at home for 3-6 months. But, it’s important to check them regularly to stop them from drying out or rotting. To keep them alive, the right conditions are essential. Place them in a cool, dark spot with air circulation and protection from too much moisture.
Before storing, dry the tubers in direct sunlight for an hour. Create a bedding of sawdust, peat moss, sand, and wood shavings to give insulation and safeguard against changes in temperature and moisture.
Check the tubers each month to see if any are rotten or mouldy. If they are, take them out quickly to stop the spread of decay.
To make the eyes of dahlias easier to see and to cut them more easily, divide them in fall or spring. It’s like giving them a makeover!
Dividing dahlias and care during winter
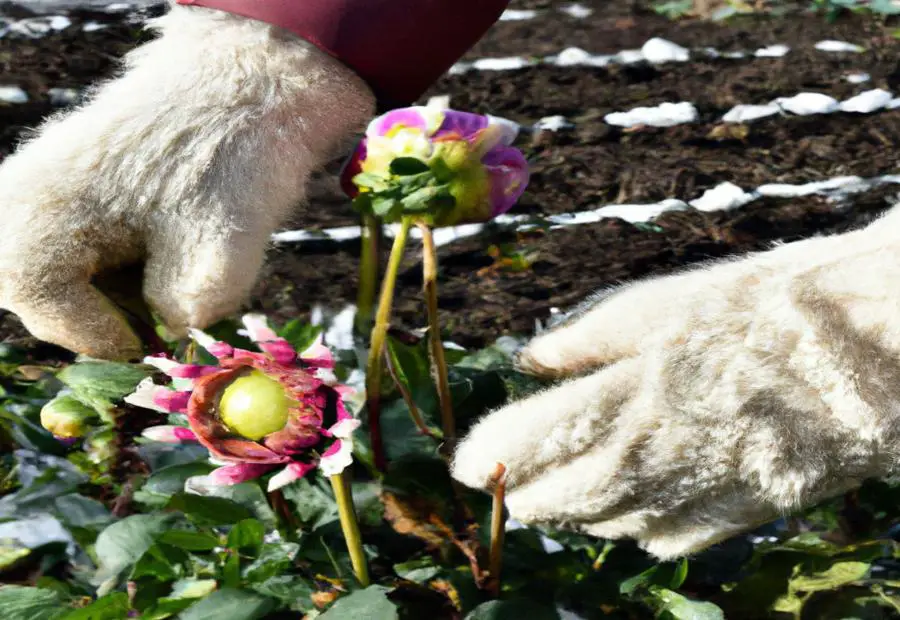
Photo Credits: Fortheloveofgardeners.Com by Jesse Wilson
Dividing dahlias and caring for them during winter requires some essential considerations. From choosing the optimal time for division to ensuring additional protection in colder climates, these sub-sections will provide valuable insights for successful dahlia maintenance. Whether you’re looking to streamline the division process or safeguard dahlias during storage, this section offers practical tips and techniques to keep your dahlias thriving throughout the winter season.
Dividing dahlias can be done in the fall or spring, with the fall being easier to cut and the spring making the eyes easier to see.
Dividing dahlias can be done either in fall or spring. Fall has an advantage: easier to cut through the plant due to less foliage. Spring offers better visibility of the “eyes” on each tuber—they’ll be ready for optimal growth.
Fall: cutting through is easier with less green growth above ground. Spring: improved visibility of the eyes ensures each division has enough potential for growth.
Don’t limit yourself to one season; both fall and spring have unique advantages. Take advantage of these opportunities throughout the year to divide your dahlias and promote healthy growth.
Pro Tip: Label each tuber with colorful plastic tree tags and a landscape pin. This will help you keep track of different varieties if you plan to give or sell them later.
Additional protection may be needed when storing dahlias in colder climates, such as using a cardboard box lined with newspaper and layers of peat moss.
In colder climates, storing dahlias may need extra protection. One way to do this is to use a cardboard box filled with newspaper and peat moss. This creates insulation and helps keep a steady temperature, guarding the tubers from freezing. Here’s how to do it:
- Find a sturdy cardboard box big enough for your dahlias. Make sure there are no holes or openings.
- Place several layers of newspaper in the bottom of the box.
- Spread a layer of peat moss over the newspaper. Repeat this, making a thick bedding.
- Arrange your dry tubers on top, not touching each other.
- Cover them completely with another layer of peat moss.
Ventilation, dryness, and darkness are also important factors when storing dahlias. Check on them monthly and take prompt action to prevent damage. In some cases, an old blanket over the box can provide extra insulation. This will help protect them from severe cold and allow them to bloom again.
Check dahlias monthly during winter storage.
During winter, check on dahlias often to ensure they are safe and healthy. Here is a 6-step guide:
- Inspect them once a month. Look for signs of mold or rotting. Take action quickly if you find any.
- Carefully remove any rotten or moldy tubers. This helps protect the others from contamination.
- Make sure the storage area has enough air circulation, dryness, and coolness.
- Monitor moisture levels. Too much or too little can cause problems. Adjust if needed.
- Protect against extreme temperatures. Unexpected heat or cold may harm the tubers.
- Follow the extra care recommendations given in this article. These include using sawdust, peat moss, dry sand, and wood shavings as bedding materials.
Remember, regular monitoring is critical! By checking monthly and addressing any issues, you can ensure the health and longevity of your dahlias.
Conclusion and additional resources
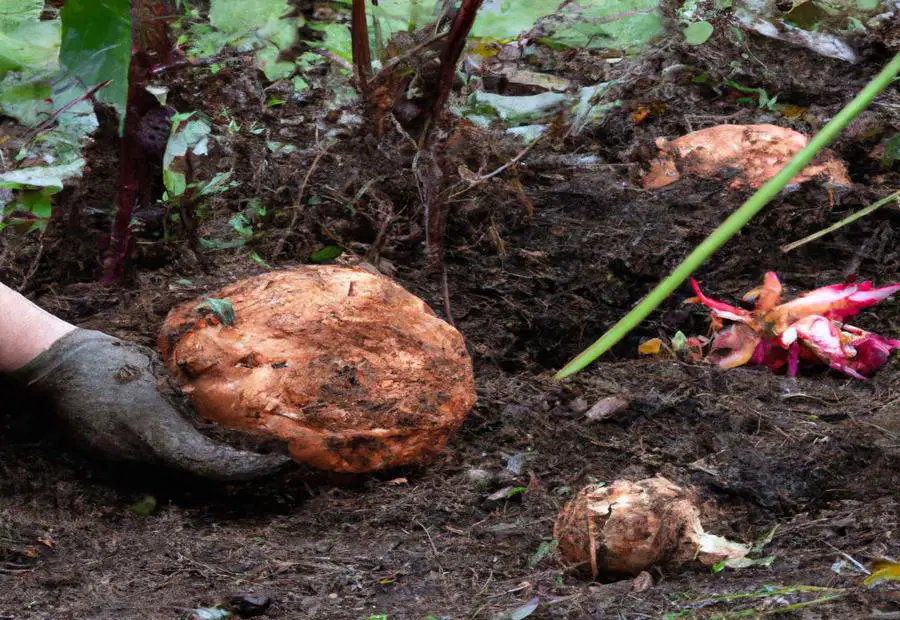
Photo Credits: Fortheloveofgardeners.Com by Frank Clark
To wrap up our exploration on when to dig up dahlias, we’ll dive into the conclusion and provide you with additional resources. Discover the recommended timing for digging up dahlia tubers and learn how to store them effectively. Plus, we’ll share a variety of helpful resources, tips, and guides for different dahlia varieties and growing techniques. So let’s conclude our discussion and equip you with everything you need for successful dahlia cultivation.
Dahlia tubers should be dug up after a freeze and can be stored to maintain their health and stock.
Dahlia tubers must be dug up after a freeze. The green growth on top of the plants should be blackened, which means the tubers are ready for hibernation. Don’t leave them in the ground when the temperature drops below 30 degrees! This can cause the ground to freeze solid and damage the tubers.
Here’s a guide on how to dig up and store them:
- Cut off the tops of the plants with loppers. This makes it simpler to take out the whole plant.
- Put a spade or shovel around the base of the plant and loosen the soil, without cutting into the tuber. Rock the plant until it comes loose, then lift it up and put it in a container.
- Shake off any extra dirt and brush away any remaining dirt. If there are still clumps attached, use a garden hose to clean them off gently.
- Dry the tubers in direct sunlight for about an hour, then store them in a cool, dark place. Materials like sawdust, peat moss, dry sand, or wood shavings make good bedding.
For winter storage, keep the tubers dry, and store them in a cool, dark place. They can usually stay at home for 3-6 months. Check them regularly to stop rot or drying out. By following these tips, the dahlias will be ready for replanting in late winter or mid-spring.
Division can also be done in the fall or spring. The plants have died back in fall, making cutting simpler. Spring division makes it easier to see the eyes on the tubers. In cold climates, a cardboard box with newspaper and peat moss layers is needed for extra protection. Check dahlias monthly during winter storage to solve any problems quickly and maintain their health and stock.
Various resources, tips, and guides are available for different dahlia varieties and growing techniques.
Text: Online gardening websites provide extensive guides on dahlia cultivation. They share tips on planting, watering, fertilizing, and pruning dahlia varieties. Gardening forums and communities give experienced gardeners a platform to share their knowledge and answer questions. Horticultural societies publish journals and newsletters with articles from horticulturists. These provide in-depth info on best practices for dahlias.
Plus, it’s important to check stored tubers during winter. This helps to spot rotting and drying out, and keeps them healthy. Preparing for storage? Line a cardboard box with newspaper and peat moss to insulate against cold temps.
Some Facts About When to Dig Up Dahlias:
- ✅ The best time to dig up dahlia tubers is when all the above-ground green growth has turned black, indicating that the tubers are ready for hibernation. (Source: Team Research and Heirloom Soul)
- ✅ It is important not to leave the tubers in the ground when temperatures drop below 30 degrees, as the ground is likely to freeze solid. (Source: Team Research and Heirloom Soul)
- ✅ Before digging, it is recommended to cut off all the tops of the dahlia plants with loppers to make digging easier. (Source: Team Research and Heirloom Soul)
- ✅ If you want to divide and sell/give away any of your tubers, it is important to label them meticulously. (Source: Team Research and Heirloom Soul)
- ✅ Once the tubers are dug up, it is important to store them properly to prevent mold issues over winter. (Source: Team Research, Heirloom Soul, and The Spruce)
FAQs about When To Dig Up Dahlias?
1. When should I dig up my dahlias?
According to the references, you should dig up your dahlias when the above-ground green growth has turned black, indicating that the tubers are ready for hibernation. It is important not to leave them in the ground when temperatures drop below 30 degrees, as the ground is likely to freeze solid.
2. How do I prepare my dahlias for digging?
Before digging, it is recommended to cut off all the tops of the dahlia plants with loppers to make digging easier. This will make the process smoother and more efficient.
3. What is the best method for labeling my dahlia tubers?
If you want to divide and sell/give away any of your tubers, it is important to label them meticulously. The author suggests using colorful plastic tree tags anchored with a 6-inch landscape pin. This will help you keep track of different varieties and prevent confusion.
4. How should I store my dahlia tubers over winter?
Once the tubers are dug up, it is important to store them properly to prevent mold issues over winter. The references suggest using storage options such as mesh bags, newspaper wrapping, and containers filled with materials like sawdust, peat moss, dry sand, and wood shavings. Make sure the storage location is cool, dark, and well-ventilated.
5. Can I leave dahlias in the ground during winter?
In colder climates, dahlias should be dug up and stored indoors for the winter, while in warmer climates they can remain in the ground. If you live in an area without harsh winters and the dahlias are able to survive, you can leave them in the ground. However, it is recommended to dig them up and divide them for better health and stronger growth.
6. How do I divide dahlias?
Dividing dahlias can be done in the fall or spring. Use a digging fork or shovel to gently lift up the clump of dahlias. Cut the clump into sections, ensuring that each section has a piece of the crown with at least one eye. The center mother tuber should be discarded. Treat the cut edges with fungicide powder and allow the sections to dry out before storing them.

A passionate gardener and founder of ForTheLoveOfGardeners.com. She shares her expertise to help you cultivate thriving gardens and find joy in the beauty of nature.